Sunday, April 8, 2012

Water Droplet


In order to take a photo like this, my group and I had to shoot the photo with a fast shutter speed. We also had to use a diffuser on our light source as it was too bright. This photo was shot at 1/500 of a second and used an f stop of 5.6. We got many other photos using other objects but this one seemed the "coolest"!!


This was another cool and successful water droplet photo. We used a light source and a red filter transparency paper to make the water look red. This photo was also shot at 1/500 of a second and used an f stop of 5.6 once again.


Monday, March 26, 2012

Ghost


This is a photo of my baby cousin and older cousin. The photo was shot in a room that was not too bright and the camera was set to shoot with a slow shutter speed in order to make my little cousin appear as a ghost. I also edited the photo using Photoshop to make my little cousin look even more ghostly! The photo would of came out better if I would have used a camera with more megapixels.

Sunday, March 25, 2012

Panning


This panning photo is of myself outside wearing a Hugh Hefner mask. In order to have this successful panning image, I spun in a circle and snapped the photo so the camera focused on me and made the background blurry.


This is another panning photo of myself in my house with low lighting conditions. I also used the flash in this panning photo unlike the previous one.

Portraits


Thursday, March 15, 2012

Painting With Light


This photo was made using two laser lights and a small flash light with an orange filter transparency paper to change the color of the light. I also used a very slow shutter speed and evidently, the photo was shot in a completely dark room.

Tuesday, February 14, 2012

Self-Portrait


This is a portrait of myself taken in my car with a racing helmet on. Evidently, I am trying to portray that I like cars and racing!

Wednesday, February 1, 2012

Photograms Experiment


Doing the photograms was fun! When attempting a photogram, there has to be no lights present, as it will damage the photographic paper. The only lights that don’t affect the paper are the colors red and orange. The first step is to place your objects onto the paper, then, expose light for five seconds using a light source for example a cell phone. The following steps include putting your photogram in chemicals. I put my photo in the first chemical called the “developer” for one minute. Then, I put it into the “stopper” for 30 seconds and finally into the “fixer” for two minutes. The following step is to put the photo into water for five minutes. Lastly, the photo is put into a machine that dries and develops the photogram.

Out of my three attempts, the final photogram was the most successful one. My first photogram came out dark on one half of the photo and light on the other. The cause of this is because I hadn’t exposed the proper amount of light equally throughout the photo. My second attempt had improved. My photogram was somewhat successful as I exposed light onto the photographic paper for three seconds instead of five. My final attempt was the most successful attempt. The quality of my photogram improved as I used different objects. Another factor is that I now had placed a film paper that acted as a tint to my screen, which allows less light to project onto the photographic paper. This photogram turned out to be the most successful one out of all my other attempts.

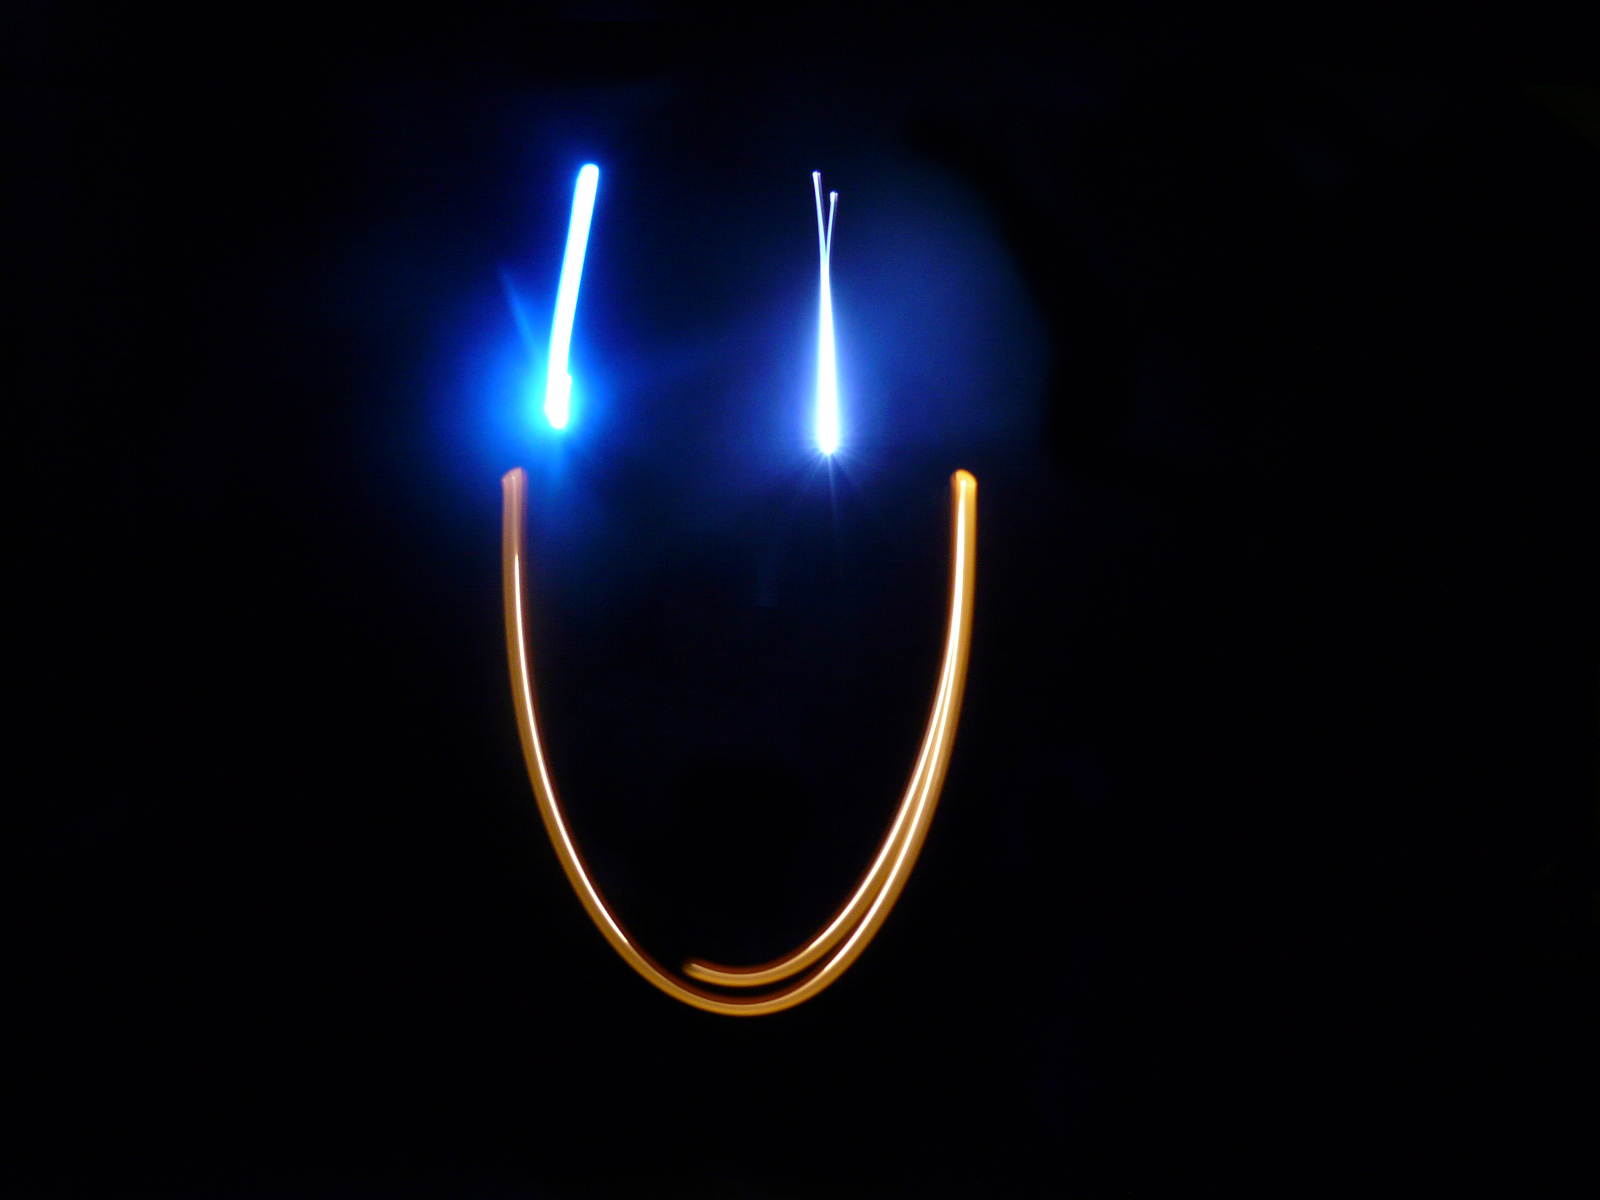
The picture above is my final photogram!